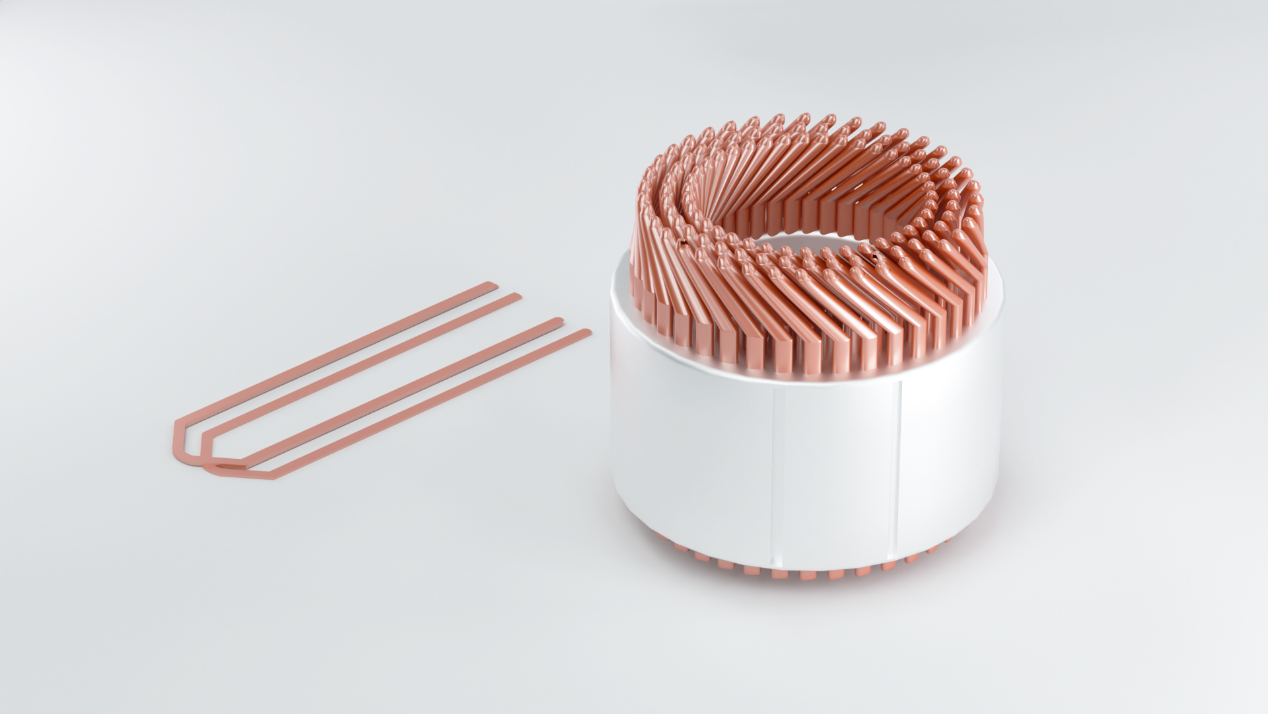
New energy vehicle motors play an extremely important role in the power, comfort, economy, and safety of vehicles. Compared to traditional motors, hair-pin motors improve internal space utilization and heat dissipation performance, thus achieveing higher power density while being able to withstand higher operating temperatures. Therefore, they are highly favored by manufacutures of new energy vehicles. Therefore, they are highly favored by manufacturers of new energy vehicles. In this issue, we'll explore the application of Mega Phase Technology's Sizector® 3D Camera SX series in the inspection of welding points in hair-pin motors.
![]()
High Number of Weld Points
Taking a six-layer Hair-pin motor as an example, with 48 slots and an average of 3 welding points per slot, totaling 144 welding points.
![]()
Chellenges in Imaging
Welding points are situated on high-reflective metal surfaces, resulting in distortion when capturing outer weld points, leading to poor edge imaging and difficulties in quality assessment.
![]()
Multiple Inspection Tasks
Inspection tasks include location tolerance and profile tolerance measurement, and inspection of various welding defects for each weld point.
The Sizector® 3D camera SX series employs hardware computation imaging technology, multi-projection technology, and telecentric lenses. It utilizes area-array imaging and can simultaneously inspect multiple welding points, making it particularly suitable for quality inspection of welding points in Hair-pin motors.

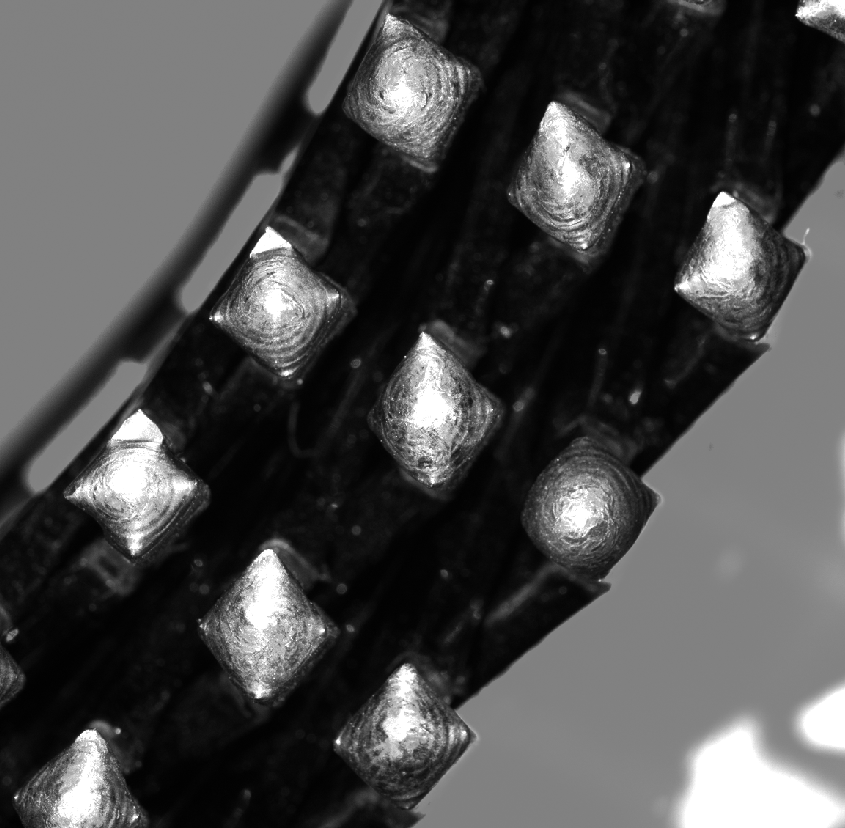
Greyscale
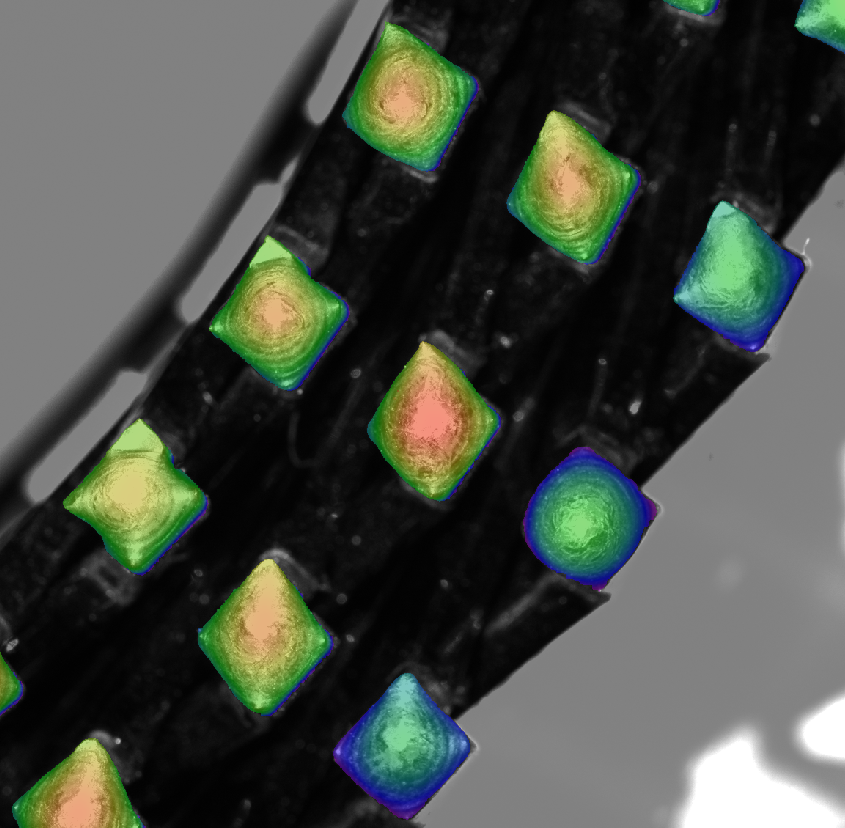
Depth Map
The Sizector® 3D camera SX series employs telecentric lenses to minimize edge distortion during capture, ensuring complete imaging of each welding point within the field of view. It can seamlessly integrates with external lighting, allowing the camera to synchronously control exposure. This setup simultaneously outputs both 2D grayscale images and 3D point cloud data, providing a one-stop, comprehensive solution for both 2D positional accuracy and 3D defect inspection.
The Sizector® 3D camera SX series inherits Mega Phase's unique camera hardware HDR fusion technology, providing better imaging integrity for highly reflective materials and ensuring more stable and accurate 3D data. This ultimately helps users improve the accuracy of welding point quality inspection.
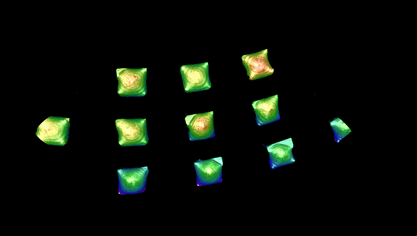
3D Imaging Effect
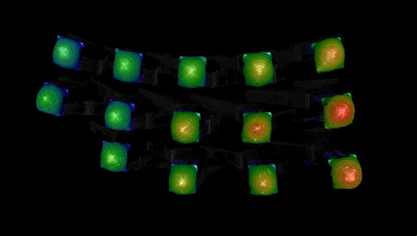
3D Imaging Effect
With an XY accuracy up to 0.0062mm, the Sizector® 3D Camera SX Series precisely captures welding points profile. This enable clear imaging of various defects such as misalignment, underfill, skips, sharp points, and welding spatter.


